How to proofread spreadsheets

Spreadsheets. Dreamy little cells of neatness and order and conditional formatting and magic maths.
Spreadsheets aren’t just for data and pivot tables either. They’re often used to manage large volumes of content too.
With character length calculations and translation options, they’re ideal for batch copy. Think product descriptions, website meta descriptions and PPC ad copywriting. You can copy your white paper content from column to column then tailor each one to the targeted company too.
But with all this conversion copy typed up in sheets rather than documents, issues aren’t as visible as they are in Word or G Docs. Frustrating, huh!
Even though you’ve written the very same copy you’d write in a document, it can be easier to overlook the detail.
To keep your copy top notch, here you’ll find a step-by-step guide on how to proofread spreadsheets.
From cells to sales
We all type things incorrectly now and again. It’s all fingers, thumbs, autocorrect. It doesn’t mean we don’t know how to spell.
Still, most of us are bugged by a typo in someone else’s text.
And as consumers? We’re a right judgey bunch…
Spreadsheets often sit behind important content. There are the short-form ones mentioned earlier. Then there are heftier long-form documents like personalised ABM brochures and data-driven reports.
If an issue or inconsistency creeps into the source spreadsheet, it can end up repeated across a large batch of ever-so-similar content. And when that content forms part of a high-value (and high-cost) strategic marketing campaign, those little oversights can spread shockingly far.
Mistakes reduce credibility. And those first impressions are tricky beasts to change.
A few years ago, the Tights Please online shop had used ‘Tihgts’ in their category page copy. After it was corrected there was a whopping 80% increase in conversions. Those finger slips are soooo easy to do, but it cost them so many missed sales. And who knows how long they’d been losing money to their competitors!
For you or for who?
Before we crack on with the how, we want to cover the who. Not the band. Although Roger Daltrey could be a spreadsheet wizard.
You might be proofreading your own spreadsheet. Maybe it’s for someone on your team or for a client. If it’s for someone else then you need to decide how best to communicate with each other. Here are two ways to keep comms simple.
Comments? Noted.
Both Excel and Google Sheets have a way to add additional information to a cell. You just right click on it and…
Add a Note. Which is simply that: a note. This is handy when proofreading your own sheets so you can go back and work through things.
Add a Comment. It’s like a note but for collaborating. Other people can add their comments too so you get a conversation going.
In both Excel and G Sheets, the Note and Comment options leave a little triangle in the top right of the cell. You need to hover over them to see the text. Except in Excel. Notes visibly sits on the spreadsheet and can make it really cluttered if there are too many.
I do it a different way.
TIP: Simply add a new column to the right of the column you’re reviewing. Label it as ‘Comments’ and make the text red.
There’s no need to risk missing those little triangles, having to hover over cells or get stressed out by a splattering of notes.
Keep track of those changes
Just like Word, Excel gives you the option to track changes. It does it differently though.
Cells with changes are given a colourful border and a triangle in the corner. These changes need to be accepted or rejected by the person overseeing final sign-off too. Just like Word.
G Sheets doesn’t offer track changes. Instead you can view the sheet’s history.
Follow this in the sheet you’re working on: File > Version history > See version history
Version History will pop open on the right of your screen. It shows the most recent version you’ve been working on as well as the previous copies.
The individual changes aren’t highlighted though. Just the cells. And the changes have been made directly so they can’t be accepted or rejected.
Five step guide for proofreading spreadsheets
Now you know how you’re communicating your changes, it’s on to the proofreading itself.
The spreadsheet proofreading process is broken down to get rid of any pre-proof overwhelm and make it easier to work through. You won’t get distracted by all the little things that pop up as you’ll work through each area of focus. Step by step.
1: Run the spell check
Let the sheet do the work by using the spell check. Here’s how they work in the different spreadsheets.
G Sheets: Tools > Spelling > Spell check
The spell check doesn’t always flag errors though.
Excel: Review > Spelling
This is much better at catching spelling errors. It flags spelling and grammar with the same red squiggles and blue lines as in Word. Unlike Word though, those squiggles and lines only show up when the spell check has been run. They don’t show automatically.
We want to be certain we’ve caught as much as we possibly can. So let’s double check…
2: Run it through Word
Word’s automatic and trusty spelling and grammar check means that anything that’s slipped through the spreadsheet’s review are often caught here.
Copy the specific columns you need and drop them into a Word document. Cross-check everything against your spreadsheet.
3: Check the main text
Read through your spreadsheet. Syllable. By. Syllable.
Most errors will have already been tracked down. Instead, you’re looking for sneaky things like:
► Duplication. Duplication: When you’re focused on writing lines and lines and lines of similar copy, you might use the same word or phrase more than once without realising. That snazzy boob tube may have snazzy beaded edging for a true 2002 party style. But we don’t need to know about its snazziness twice.
► a/an: It’s so easy to forget to change these when we tinker with the descriptions.
► Transposed letters: These are where the same letters are jumbled to create a correctly typed but incorrect word. You can usually blame autocorrect for this. Think tap and pat.
► Homophones: Sound the same but have different spellings. Aisle and isle are a set.
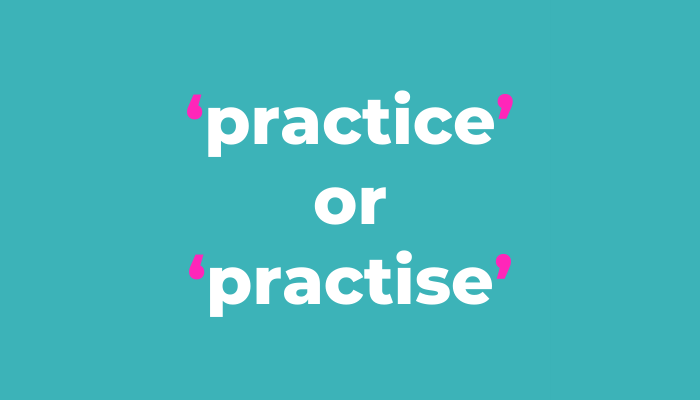
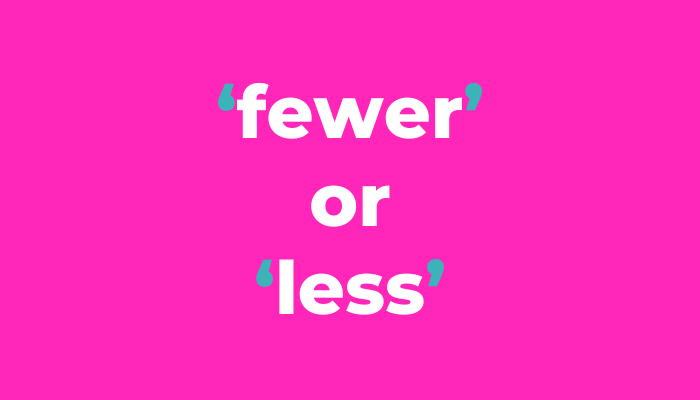
► Confusables: Easily confused words, like affect/effect and fewer/less.
4: Check you’ve followed the rules
This stage tends to be for product descriptions as they come with their own rules. So many rules.
Each client may have their own tone of voice, brand or brief guidelines detailing what needs to be included in the descriptions. And how. And where.
Have these guidelines to hand when you’re proofreading. You want to be sure that each description meets the client’s rules and requirements so there’s no unnecessary to-and-fro between you both. And so you look super slick.
5: Check the punctuation
This comes last as any of the earlier changes could have knock-on effects.
Here we’re looking for three things: double spaces, capital letters and full stops.
Use CTRL + F to search for double spaces.
To check the capitals, carefully work down the left of the cells. Do the same for missing or unnecessary full stops too.
If the text in the cells isn’t too long and they’re similar character length, it’s easier to make the column the width of the text and carefully scan the right side for the full stops.
That’s it!
You can now take control of proofreading your spreadsheet content in a more manageable and structured way. No more overwhelming fear that you have to focus on everything. All at once. You can even pop out for a snack part-way through and dive back into the next step.
So whether you’re working in a spreadsheet, report or another complex document, breaking the review into clear stages makes it easier to spot issues before they reach your reader.